Automated npm package deployment using semantic versioning
Having a fully automated package deployment workflow with semantic versioning is great, and it is not hard to set it up. This guide will explore how to do it using GitHub Actions and the npm package semantic-release.
What does semantic-release do?
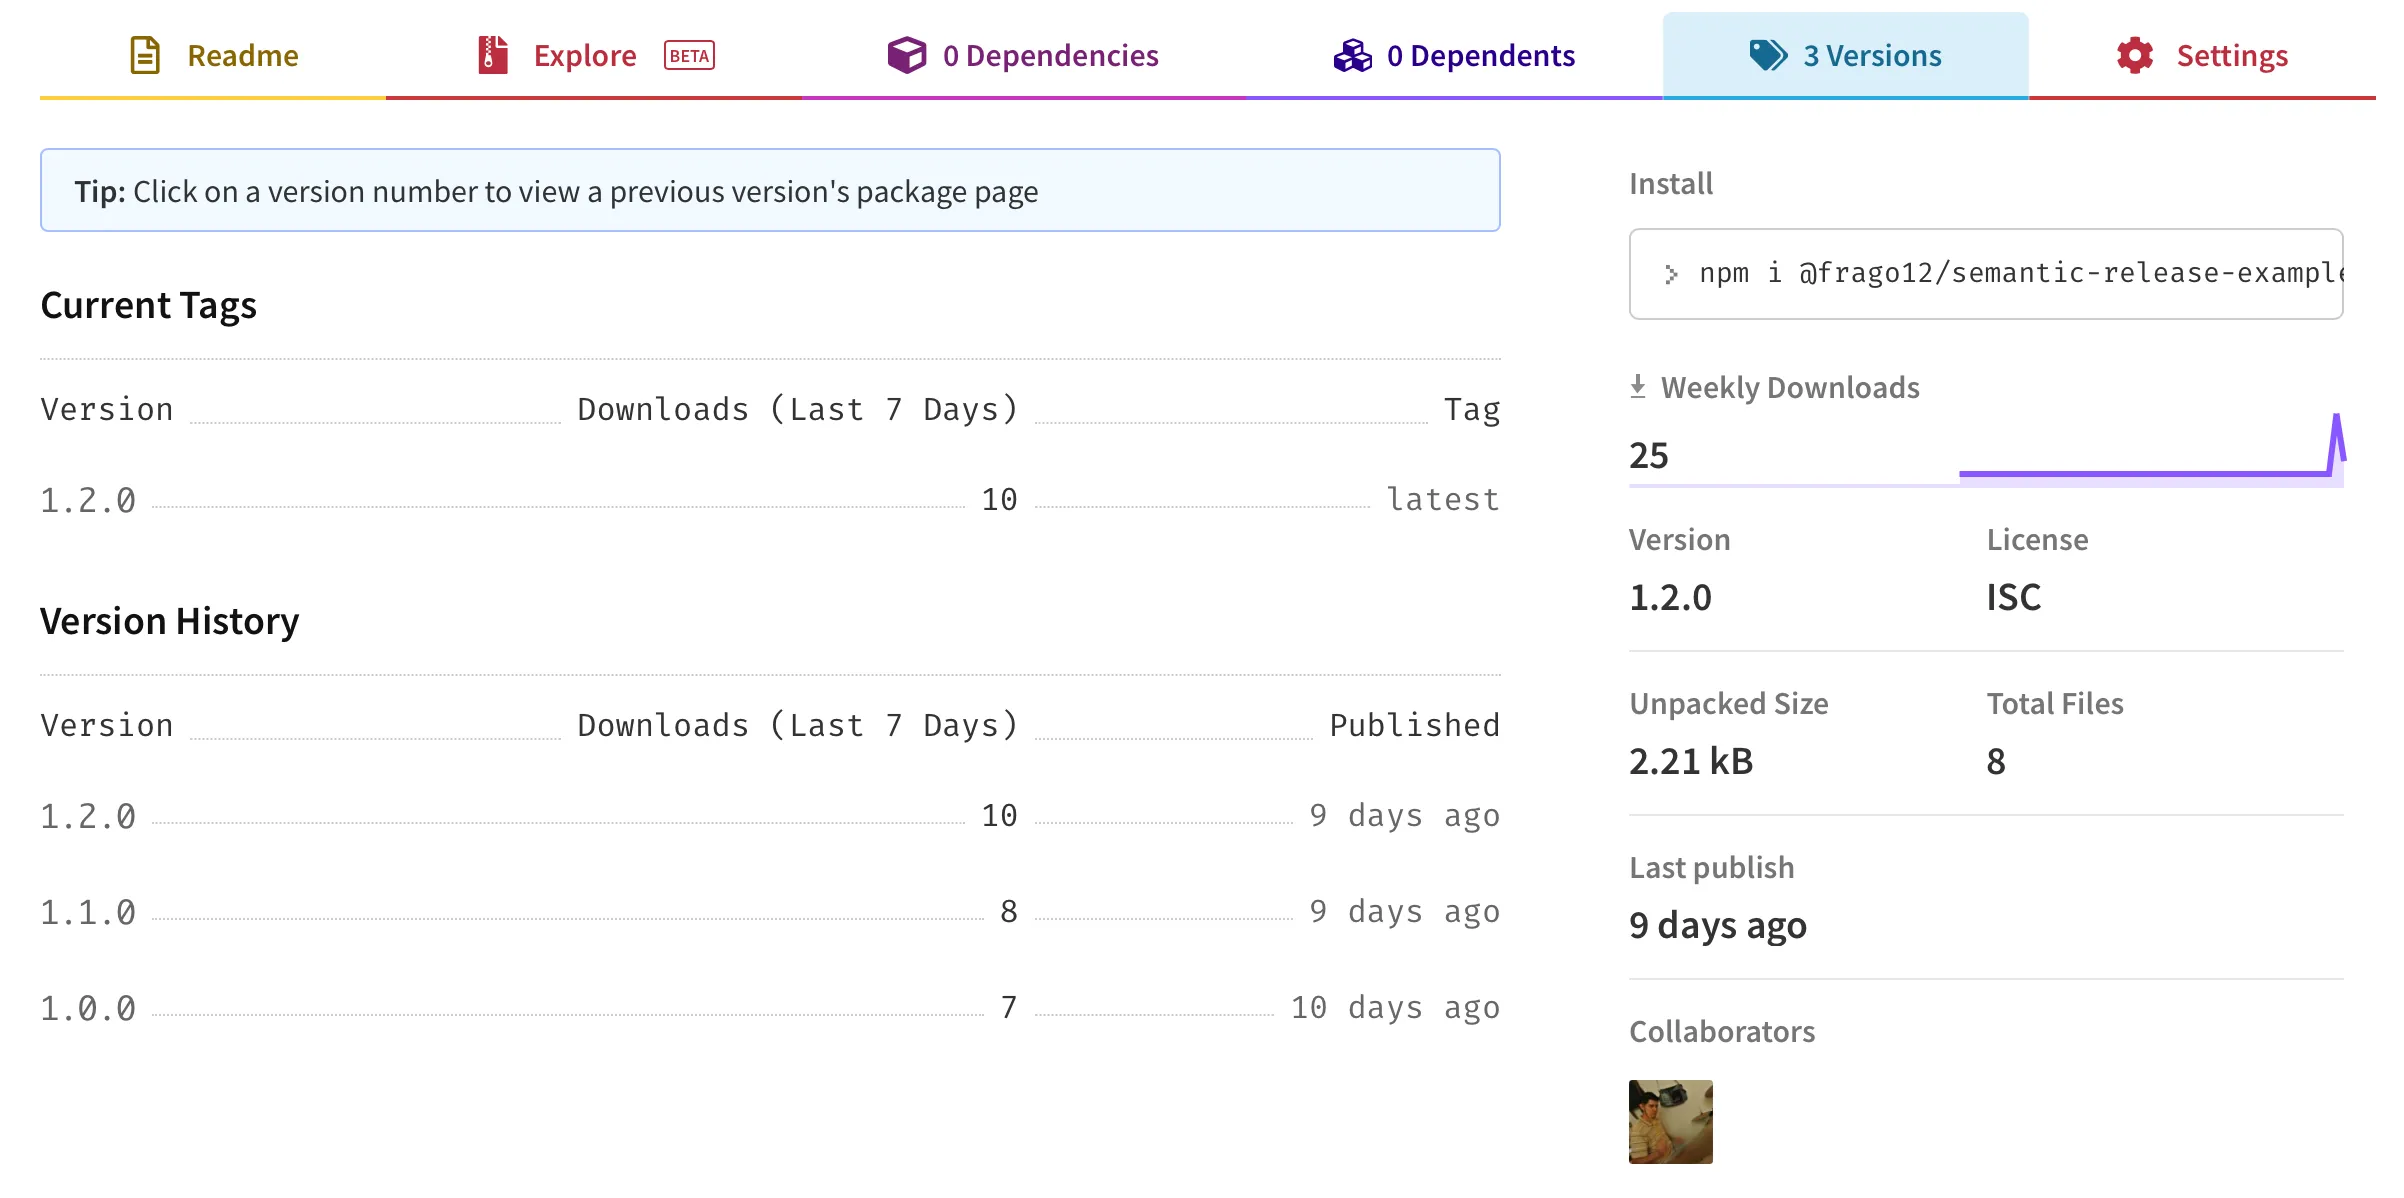
semantic-release automates creating and publishing package versions to the npm
registry (or any other registry specified).
By default, semantic-release does four things:
- Analyze the commits to figure out the next semantic version.
- Generate release notes based on the commits.
- Publish the package to npm.
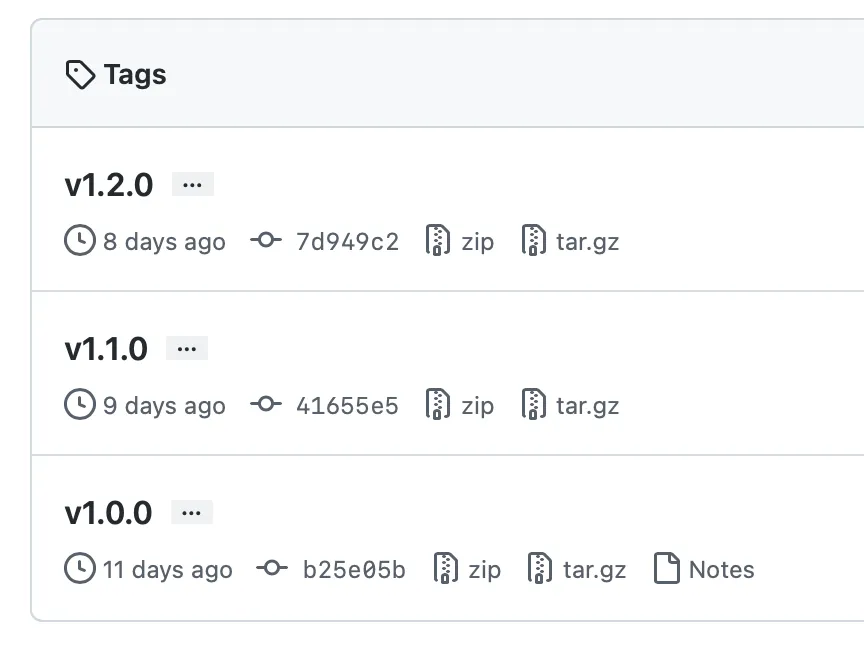
- Push a new git tag to Github, indicating the next version.
All that is done by the plugin system that the library provides. By default, it executes the following plugins:
"@semantic-release/commit-analyzer"
"@semantic-release/release-notes-generator"
"@semantic-release/npm"
"@semantic-release/github"
semantic-release analyze the commit messages to determine the next version.
This is possible because it looks for commit messages that follow the
commit message format
defined by the Angular team.
In the end, we will have semantic versioning with Git tags, and each tag will represent a different package version on npm.
Install semantic-release
semantic-release is installed via npm.
npm install -D semantic-releaseBasic configuration
Then, we need to create a config file for semantic-release, release.config.js.
In this file, we can set up different options like plugins, release branches,
etcetera (See all
config options).
The only required option is branches. At least one release branch needs to be
specified. For this case, we will keep it simple and only add main as the
release branch.
const branches = ["main"];

module.exports = { branches };
Create a Github token
As mentioned above, by default, semantic-release executes the
@semantic-release/github plugin, which requires a GitHub token to operate, so
you need to create one.
Here are the docs to create a GitHub access token.
The minimum scopes required for that token are:
repofor a private repository.public_repofor a public repository.
The token needs to be loaded via an environment variable that should be named
either GH_TOKEN or GITHUB_TOKEN.
Create an npm token
An npm token is required by the @semantic-release/npm plugin. This token must
also be loaded via an environment variable named NPM_TOKEN.
Here are the docs to create an npm token.
Perform local deployment
Both GITHUB_TOKEN and NPM_TOKEN environment variables must be loaded to
perform a local deployment. This can be done in different ways depending on each
use case. One way to do it is using the
node-env-run npm package.
Also, make you specify the correct access to your package in the packge.json file.
{
  ...
  "publishConfig": {
    "access": "public"
  }
}
If you want to publish a private npm package, you need an npm subscription,
otherwise, you will get a 402 Payment Required error.
And then, execute semantic-release with the —no-ci flag.
npx semantic-release --no-ciThat’s it. This will generate a new Git tag, push it to the GitHub repository, and publish the npm package to the npm registry.
Perform deployment using GitHub Actions
Ideally, package deployments should be done via a Continuous Integration server. A simple way to automate this is using Github Actions. Here is an example of a workflow.
name: Release workflow

on:
  push:
    branches:
		- main

jobs:
  release:
    runs-on: ubuntu-latest
    steps:
      - uses: actions/checkout@v2

      - uses: actions/setup-node@v2
        with:
          node-version: 16

      - name: Install dependencies
        run: npm install

      - name: Publish
        if: success()
        run: npm run semantic-release
        env:
          GITHUB_TOKEN: ${{ secrets.GITHUB_TOKEN }}
          NPM_TOKEN: ${{ secrets.NPM_TOKEN }}
The relevant part of the code above is the Publish task, which is executing
semantic-release if the previous tasks succeed. Also, notice that both
GITHUB_TOKEN and NPM_TOKEN are being passed as environment variables.
By default, GitHub exposes a GITHUB_TOKEN secret that can be used in GitHub
Actions without needing to create a new token as it was done for the manual
deployment. For the NPM_TOKEN, you’ll need to create repository secret.
Here is how you can create a repository secret on GitHub.
Custom plugins
Depending on your workflow, It is possible to specify in the config file the
plugins that semantic-release should perform. For example, let’s say that in
addition to the plugins that are executed by default, we want to generate a
changelog file that will be automatically updated with the release notes of each
release and commit to the repository.
const branches = ["main"];

const plugins = [
  "@semantic-release/commit-analyzer",
  "@semantic-release/release-notes-generator",
  "@semantic-release/changelog",
  "@semantic-release/npm",
  "@semantic-release/github",
  [
    "@semantic-release/git",
    {
      assets: ["CHANGELOG.md"],
      message: "chore: ${nextRelease.version}\n\n{nextRelease.notes}",
    },
  ],
];

module.exports = { branches, plugins };
Notice that two new plugins were added in addition to the default ones,
@semantic-release/changelog and @semantic-release/git. The first one is in
charge of creating and updating the changelog file, and the second one will
create a new commit and push it to the repo. These two plugins need to be
installed via npm.
Here is the official list of plugins supported by `semantic-release.
Test semantic-release without publishing (Dry run)
Sometimes, it will be helpful to get a preview of the next release without
publishing anything. This can be done by passing the --dry-run or -d
argument when performing semantic-release.
npx semantic-release -dThe dry run is also helpful to make sure semantic-release is working fine. It
can be annoying to debug when actual deployments are being performed ;).
Here’s the documentation to the dryRun argument.
Lint commit messages
To ensure that commits are formatted correctly, you can use something like commitlint. This tool will allow you to define different rules, including the valid types and scopes.
extends:
  - "@commitlint/config-conventional"

rules:
  scope-enum:
    - 2
    - always
    - - icons # icons library
      - rds # react design system
      - repo # general repo work
      - release # ONLY for semantic-release
  type-enum:
    - 2
    - always
    - - build # affect the build system or external dependencies
      - ci # CI configuration files and scripts
      - docs # documentation only
      - feat # new feature
      - fix # bug fix
      - perf # improves performance
      - refactor # neither fixes a bug nor adds a feature
      - style # do not affect the meaning of the code, e.g. formatting
      - test # add/update/remove tests
Found issues
npm publish failed - OTP error
One of the reasons this could happen is because publishing a package requires the OTP code (One Time Password code) if you have 2FA setup.
npm ERR! code EOTP
npm ERR! This operation requires a one-time password from your authenticator.
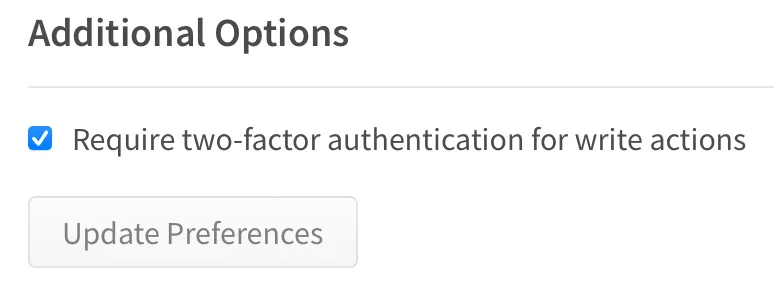
npm ERR! You can provide a one-time password by passing --otp=<code> to the command you ran.A potential solution to this can be the one suggested above in the error message, but this approach won’t work in automated environments like a CI. A solution to this problem is to disable 2FA only for write actions. This can be done by disabling that option on your account page on npm.
npm publish failed - Payment required
If you want to publish a private package, you must have an npm subscription. But if it’s not your case, make sure you specify the correct access to your package as mentioned above.